I try experimenting with nail polishes and learn new nail art as a hobby.Trying new polishes new styles is fun for me. But sometimes the nail art turns out awesome,and sometime not.But that doesn’t stop me from trying all crazy ideas that keep boggling my mind, because i am a learner and will always be one. Some years back i realized i love long nails. But growing nails is not easy, especially when u are a teen who has loads of stuff to do {u know what am saying…right ;)} and have to help with the home duties as well. But thank God i never broke my nails while doing the dishes. I always break one while fighting with brother 😥 .As u may have noticed in the pictures i have a short nail and i blame my brother for that he should have given me the TV remote without arguing but no he did not and i wasn’t gonna back-out either, so we had a fight.But at the end i WON hhahhaha……… 😆 Do you fight with your brother? If yes share a funny story about it and lets all laugh about together :D.
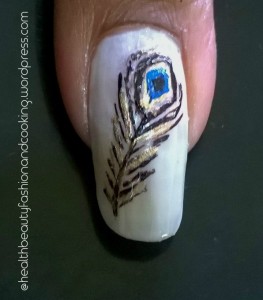
Anyways lets skip the fight scene and move on with some nail art….! Today i’l be sharing my way to do peacock feather as nail art. Its super quick and mesmerizing, works on all occasions as well.
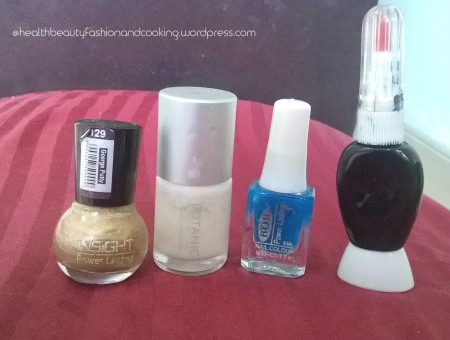
The polishes i used are:
So what are we waiting for lets get started…
First step is to apply white polish or you can apply any desired polish, 2 coats is all you need to apply.{The botanics polish i used lasted for 8 days which is good.And did not chip at all.Am happy to have used it 🙂 }
Then draw an big oval shape such that its stretched up and down so as to get the following shape{ 🙄 Psst! i don’t know what shape is this exactly} But take a look at the picture and follow 🙂
 Then draw a slant line starting from the bottom of the oval towards the tip of your nail.But do keep a little space at the tip. That’s gonna make the feather look artistic 😉
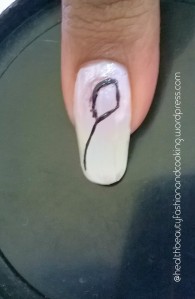 Now all we have is easiest work to finish….Draw several lines starting from top towards the tip on both sides of the slant line like palm tree leaves.Only the first two lines must be stretched enough to cover the oval shape on the sides.Whereas the other lines must keep decreasing in length so as to give a feather look.
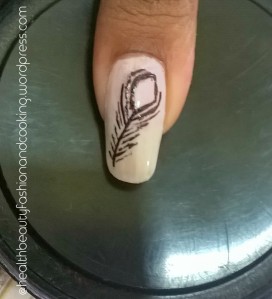 Now color the center of the oval in golden polish and let it dry.Also put few strokes of golden polish on the outer lines of feather.But take care not to over do it.
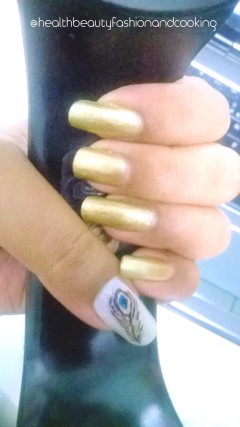
 When the golden polish dries up add small amount of blue polish (or turquoise) if u have in the center of golden polish
 Now add a dot of black polish in the center of blue polish.
And here we have the peacock feather.Apply top coat when the polish dries up.You can draw the feather upside-down as well.That looks pretty as well 😉
Go ahead get started with your creativity.
Till next time then, Be happy and stay positive 🙂
BYE…!

So lovely….thanks for sharing
LikeLiked by 1 person
the pleasures all mine 😀
LikeLiked by 1 person
Woooooow grt. Art my daughter just love this terrific beauty
LikeLiked by 1 person
Thanks a lot 🙂 😀
LikeLiked by 1 person
Very creative. I love nail art but sadly, fail at it. So I just stick with normal painting of my nails lol.
LikeLiked by 1 person
Thanks 🙂 It isn’t tough as it seems to be…..i have just recently started it as a hobby and will share the tips here on my blog to help out others 🙂
Have a great day 😀
LikeLiked by 1 person
I’m eager to learn the tips from you!
LikeLiked by 1 person
Great Nail art! Thanks for sharing! 🙂
April of: https://beybiapril.wordpress.com
Instagram: @aprilnunezzz
LikeLiked by 1 person
I am glad you liked it :D….read your blog and must say i love your style :*
LikeLiked by 1 person